


I am excited to share this darling little cake on the blog! I created this 6" sugar baby yesterday; it is covered in homemade fondant and decorated with sugar pearls and handcrafted sugar flowers.
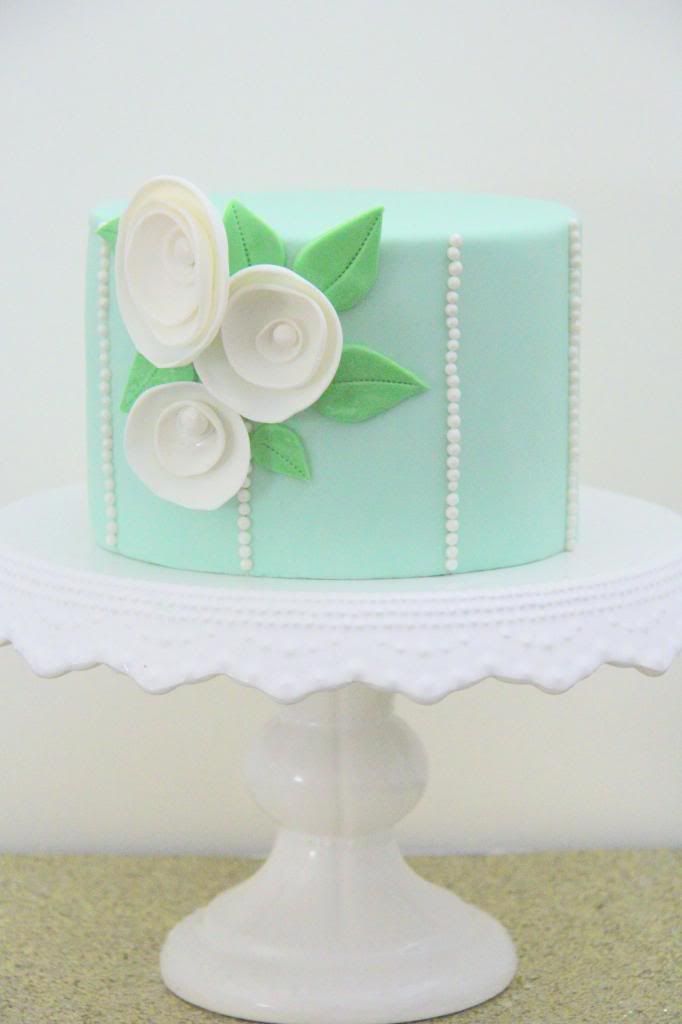
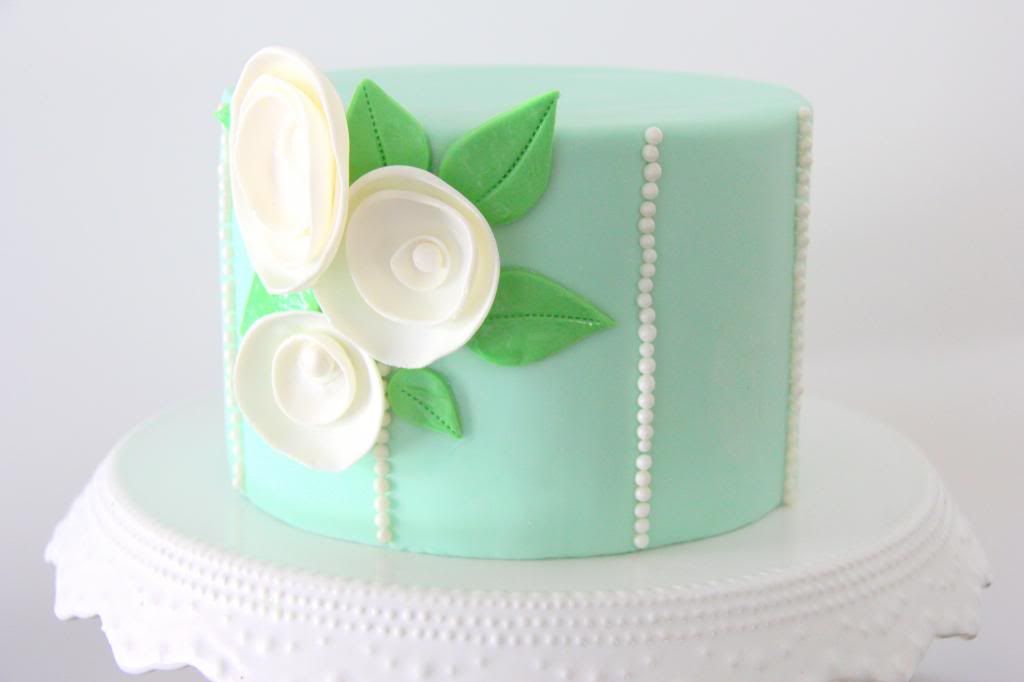
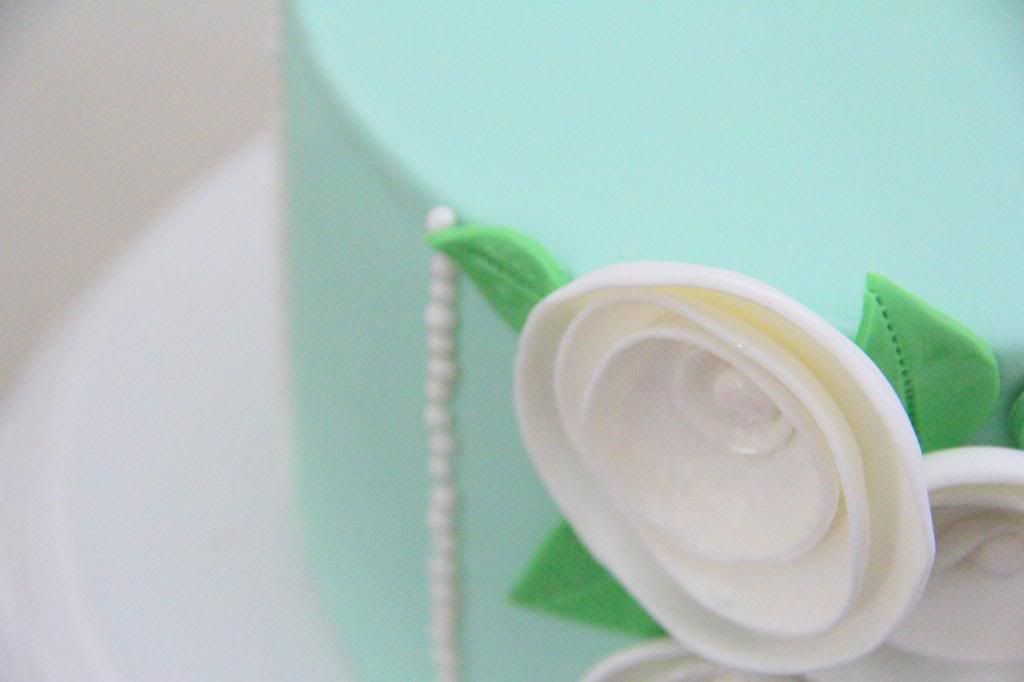
The mix of Robin's Egg Blue, dainty pearls, and a mini-bouquet of
whimsical white rosettes really enchant me. I was created the flower
(tutorial following the cake photos) after being inspired by this
wedding invitation:
 |
| via |
I thought the petite blooms on the paper were so sweet. I knew they would be just as precious on a cake. These rosette sugar flowers are very easy to make and truly can add a lovely element to any cake.
Easy Rosette Sugar Flower Tutorial
Materials:
sugar gum paste (in color of choice)
fondant (colored green with a gel food coloring)
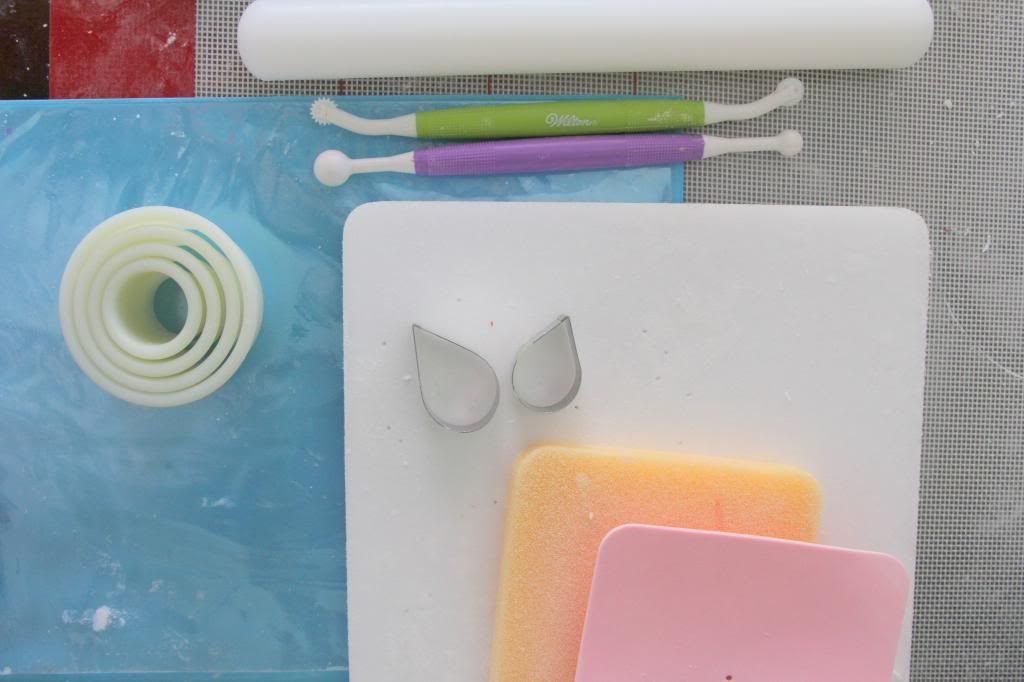
small rolling pin
fondant embosser wheel
ball tip fondant tool
foam pad
fondant sponge and mat
plastic film pad
circle cutters
tear drop shape cutters
small pastry brush
sugar glue (I make mine with 2 tbsp corn syrup mixed with 3 tbsp water)
 |
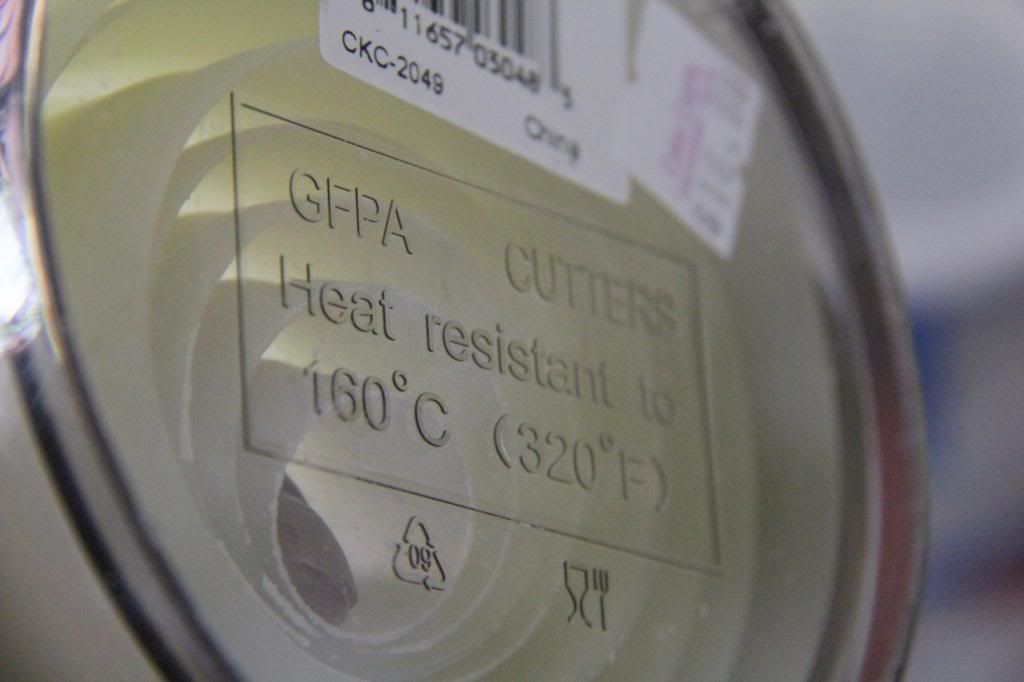
| On a side note, these GFPA Pastry cutters are amazing. They are easy to clean and allow you to achieve a really clean cut without any dents (that often appear in metal cutters). For a set, you get several concentric shapes, which is great for decorating needs. I have them in a variety of shapes and they are WONDERFUL. Each set is about $17; you can find them at specialty cake supply stores or online. |
Instructions:
Prepping the Rosettes
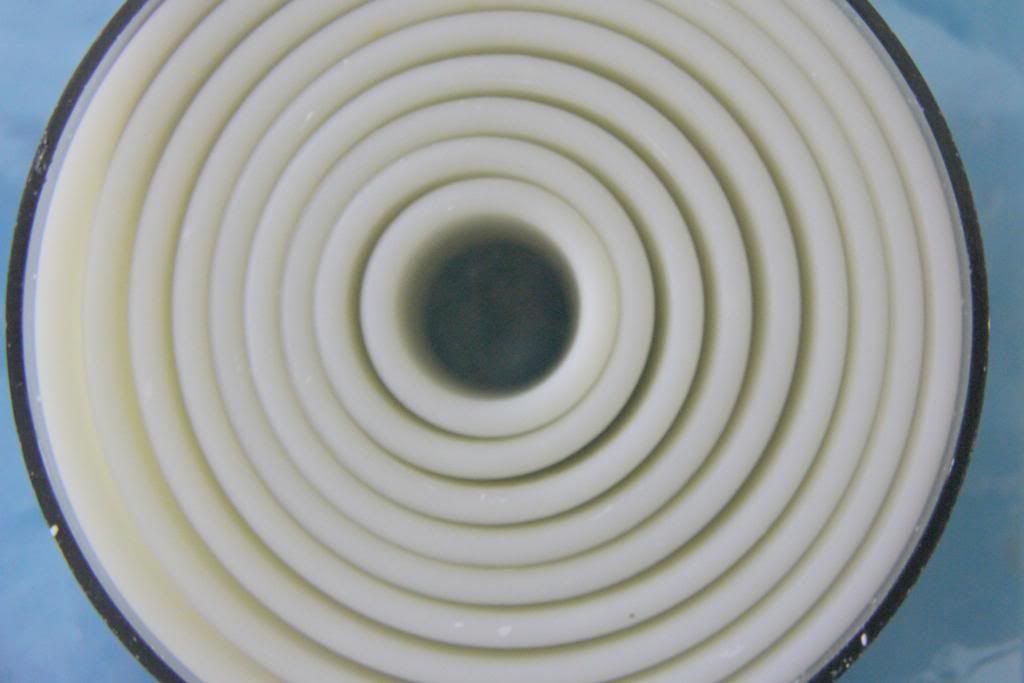
1.) Roll out a piece of sugar gum paste, onto a clean surface lightly dusted with cornstarch, until it is about 1/8-1/4" thick. Use circle cutters to cut out four concentric sizes of your choice. The larger your circles are, the larger your rosette will be. Be sure to put the unused gum paste back into an airtight container or bag.
1.) Roll out a piece of sugar gum paste, onto a clean surface lightly dusted with cornstarch, until it is about 1/8-1/4" thick. Use circle cutters to cut out four concentric sizes of your choice. The larger your circles are, the larger your rosette will be. Be sure to put the unused gum paste back into an airtight container or bag.

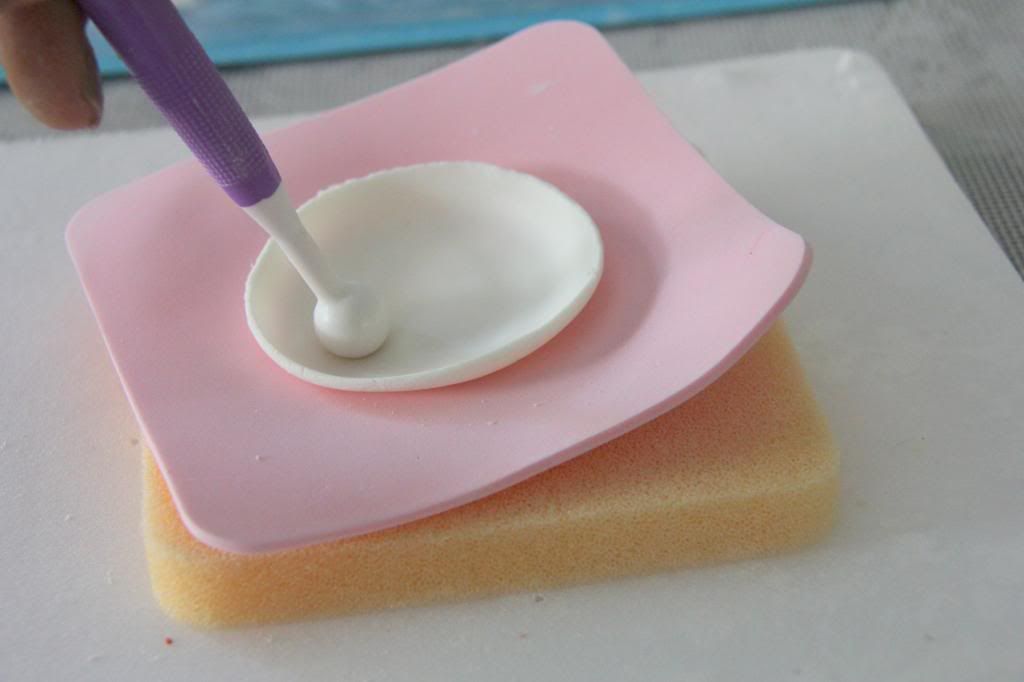
2.) Take your largest circle and place it onto the foam and sponge. Be sure to store the rest of the circles in the plastic film board to prevent it from drying out.
Take the ball tip tool and use it to smooth out the edges of the circle-- this will give it a more petal like appearance. Next, use the ball tip to smooth and roll out the middle and sides of the circle. Tracing it around in circles will continue to thin it out and make the sides/edges curl in a bit. Repeat with the remaining circles.
Once you have finished smoothing out each circle, allow it to dry before assembling the rosette. I use a clean egg crate for my blooms-- the structure is great for the petals to hold their round shape. Let them dry for about 15 minutes (if you wait too long they will be too hard and it will be difficult for them to "mold" together).

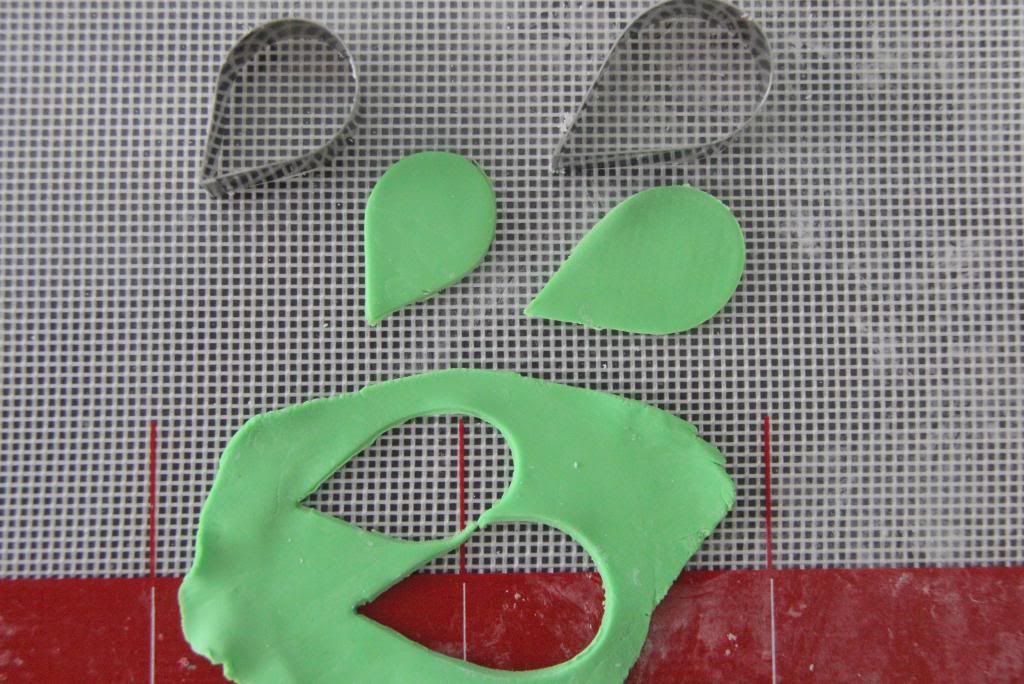
3.) Roll out a portion of the green fondant, dust the surface lightly with corn starch again, and use the tear drop cutters make any desired amount of leaves. Use the embosser wheel tool to create lines down the middle of each leaf. Keep these leaves covered in the plastic film board until you are ready to attach them to the flowers or cake.

1.) Start with the largest petal and brush on a small amount of sugar glue onto the middle of the circle.
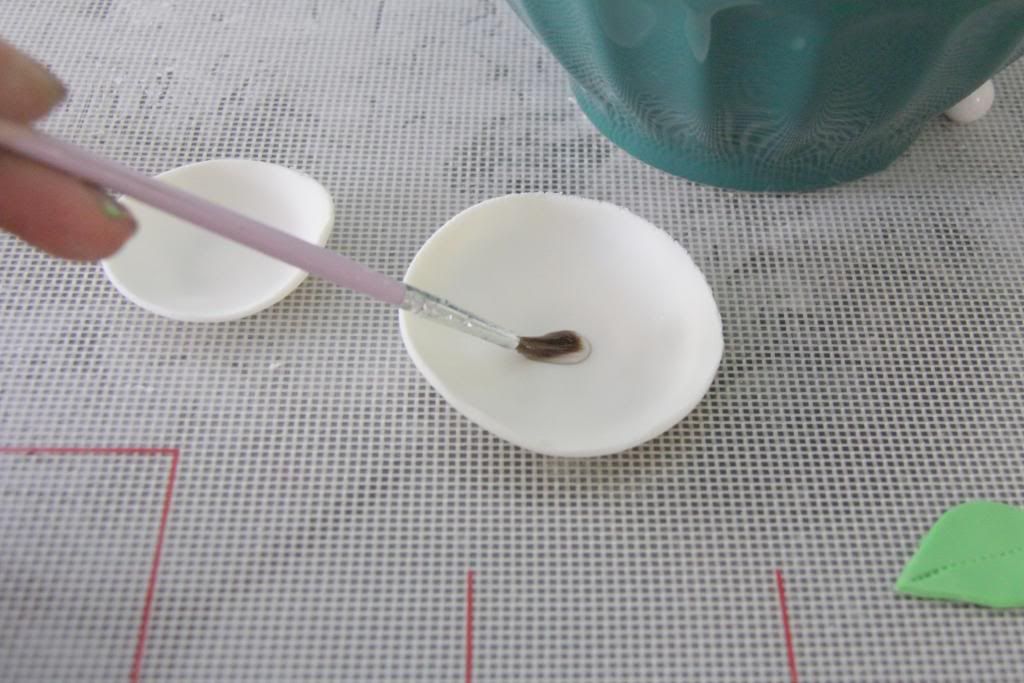
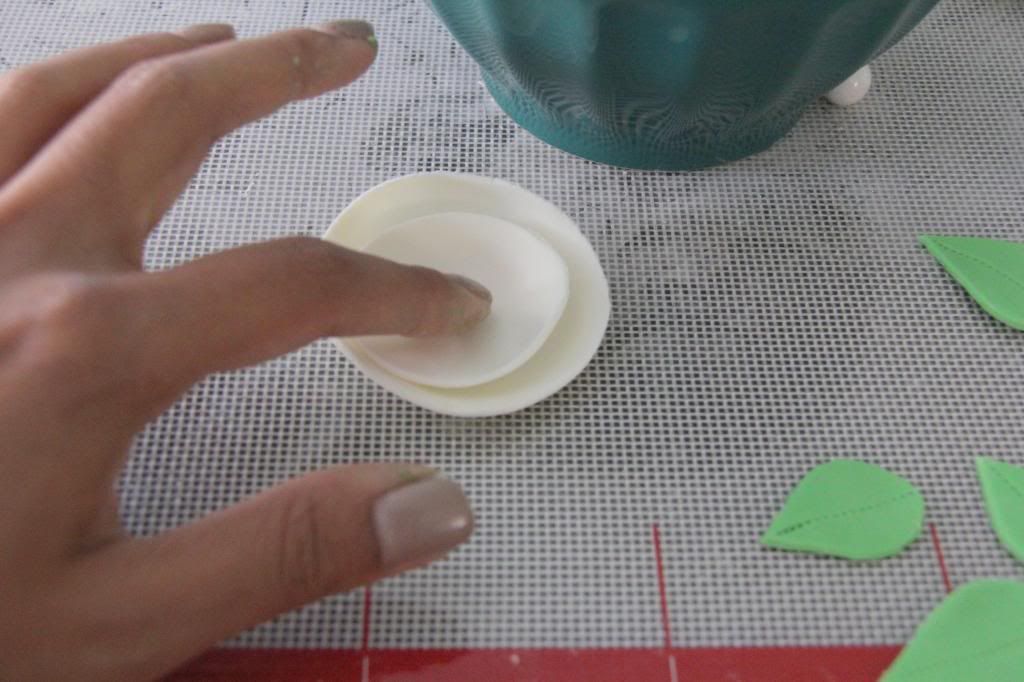
2.) Gently place the next petal down onto the middle of the first one. Use your finger to lightly press down to ensure the sugar glue adheres the petal. Repeat with the rest of the circles.
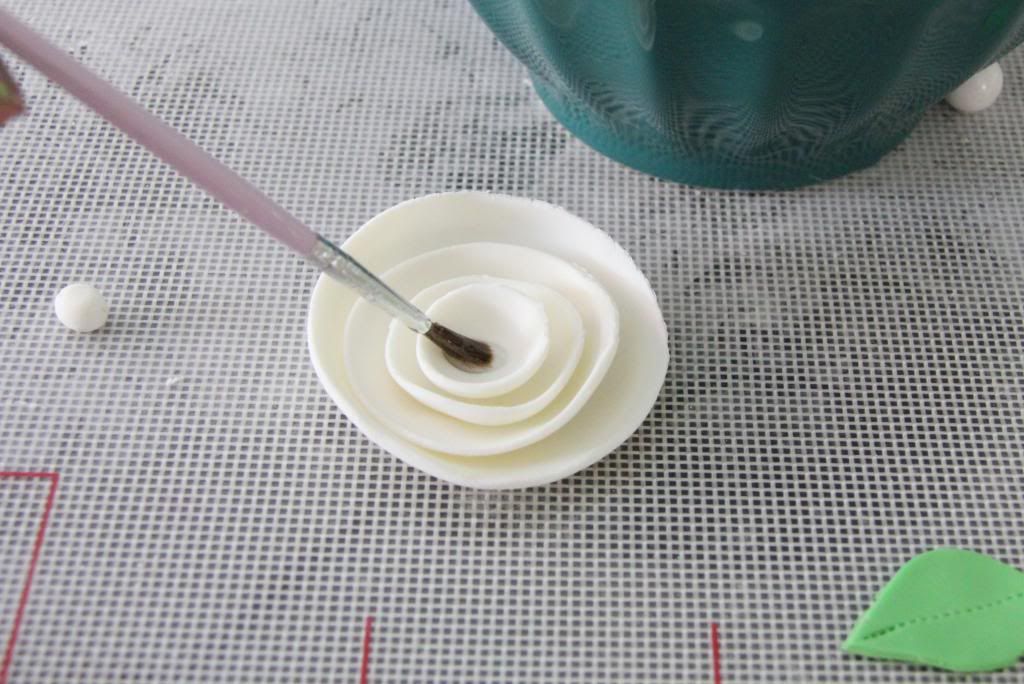
3.) To finish the rosette, roll a very small piece of gum paste into a ball and add it to the middle of the last petal.
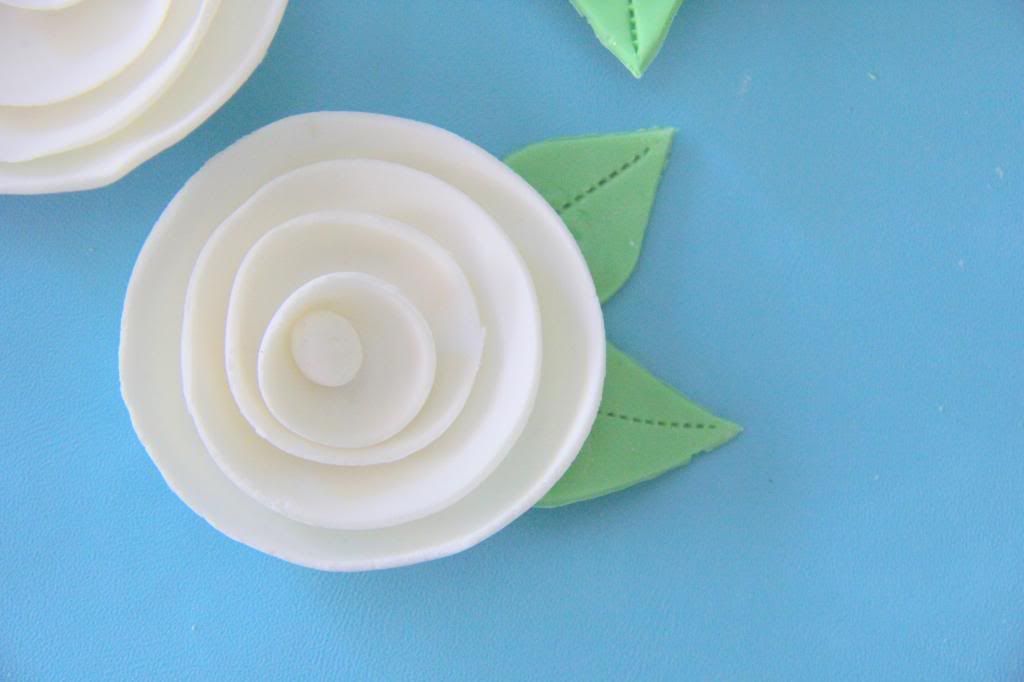
4.) For the leaves, you can either attach them directly onto the back of the rosette with the sugar glue, or position them onto the surface of your cake (this option will allow your leaves to lay flat as opposed to curling up with the flower).


SUCH A GORGEOUS CAKE!!!
ReplyDeleteThank you, Cara! :)
Delete