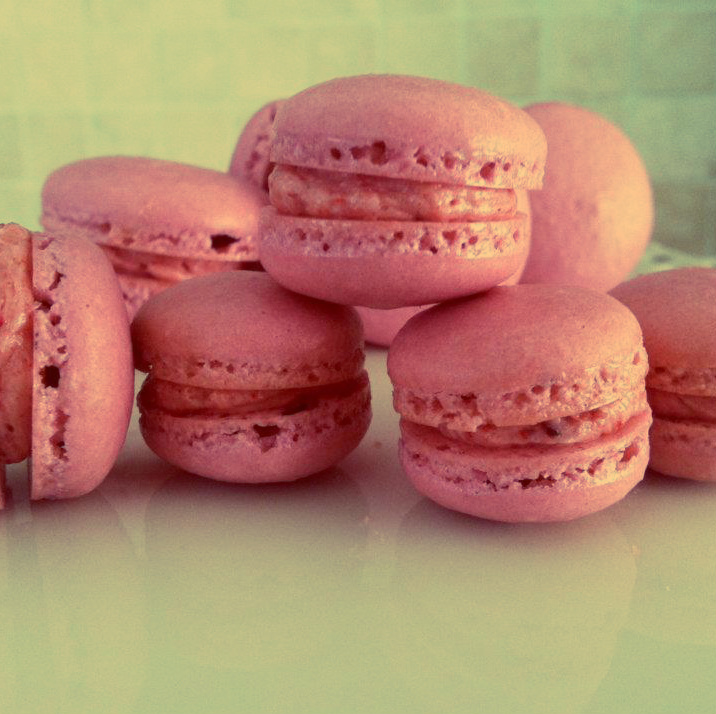
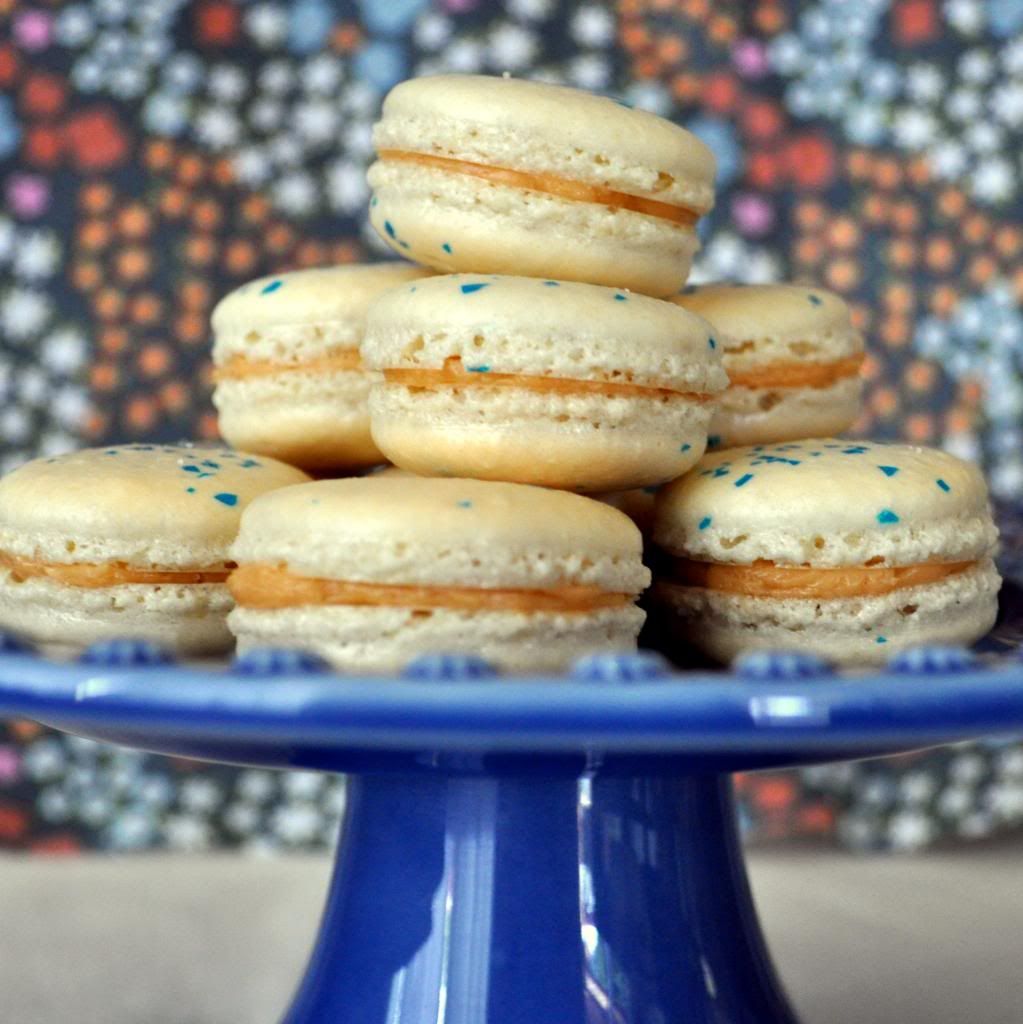
By no means am I perfect at making macarons or a professional (yet--that's what pastry school is for!). In fact, I still experience the occasional heartbreak and frustration every now and then when I bake them. Truth is, they are very temperamental little things and I have yet to learn the official no-fail method (when my French pastry chef teaches me this, I will be sure to report back!). After doing plenty (and I mean plenty) of research, reading, and recipe testing, I simply know what works for me. Since I adore making them, I thought it would be so much fun to mix and mingle with some fabulous company with the addition of little French friends-- les macarons!
 |
| A picture...after most were devoured! Yum! |
One of the first things I told the group before demonstrating my method of macaron making was to think of them as either an extremely moody ex-boyfriend/girlfriend-- you just can't always predict how they will react, but you can certainly try to set yourself up for the most situational success! There are so many fantastic blogs and resources on the web that share great troubleshooting tips and different secrets each individual swears by. Two of my favorite articles that provide very helpful information are Food Nouveau and Not So Humble Pie-- I was constantly going back and forth to these resources before I got the hang of things in my kitchen. However, all the reading in the world can't help unless you throw on your apron and practice making macarons! It can be a little daunting at first (that's how I felt at least) since the cost of good quality ingredients can be expensive, but it's definitely worth the effort.
I had such a wonderful time with this amazing group of people! To be honest, I also enjoyed being able to teach...but this time it was on how to bake! Did I draft a "lesson plan" before hand? I kinda sorta...did (I was trained well, I guess *wink*).
To make the macarons, I followed a basic recipe I use regularly. It is one that can be easily adapted to different flavors by simply modifying the flavor extracts. Some examples of such variations include Apricot & Passion Fruit, Blackberry Custard, and Dark Chocolate Earl Grey.
French Macarons
100 g aged egg whites (aged= resting in an air-tight container in the fridge for 3-5 days)
35 g white granulated sugar
125 g finely ground almond meal (Bob's Red Mill makes a great one)
200 g powdered sugar*
1 tsp real vanilla extract
optional: food gel coloring (do not use liquid food coloring)
*I reduced the original amount of 220 to make them just a tad less sweet
35 g white granulated sugar
125 g finely ground almond meal (Bob's Red Mill makes a great one)
200 g powdered sugar*
1 tsp real vanilla extract
optional: food gel coloring (do not use liquid food coloring)
*I reduced the original amount of 220 to make them just a tad less sweet
**For chocolate: add 3 tbsp unsweetened cocoa powder
***For Earl Grey: Add the contents of 2 dried tea packets.
Prepare two (double-stacked) baking sheets lined with silicone mats (or parchment paper if you don't have these).
1. Combine and whisk together the almond meal and powdered sugar (if using chocolate, add in to the mix). If possible, pulse together in a food processor, transfer to the bowl again, and whisk once more. Set aside.
2. Using a stand mixer with a whisk attachment, beat the egg whites on a low speed until the mixture becomes foamy (kind of like a bubble bath). At this point, slowly pour in the white granulated sugar as the mixer is running. Add the vanilla and increase the speed to medium; continue to beat the mixture until a smooth glossy meringue with soft peaks has formed (kind of like shaving cream). Be careful to NOT over beat and dry out your egg whites. If you are coloring your macarons, add a few drops of the gel coloring a little bit before your egg whites have reached their soft and glossy peaks.
3. Remove the bowl from your stand mixer and add 1/3 of the almond meal and powdered sugar mixture. Gently fold together just until everything is combined. Repeat with the next 1/3 of the dry ingredients and again with the final 1/3.
4. Prepare a pastry bag with a medium round tip (about 1 cm) and transfer the macaron batter into it. Pipe small circles onto the prepared baking sheets to make neat rows. Be sure to leave about 1 1/2 inches between each macaron. Grab the ends of the baking sheet and, while holding it level, firmly tap it on the counter a few times to get rid of any air bubbles. Allow the macarons to rest on the counter for 30-45 minutes before baking.
5. Preheat the oven to 305 degrees F and make sure the racks are in the middle portion. Bake the macarons for 27 minutes-- remember that oven temps and times may vary. Once they are finished you will know because the will be firm, won't move around, and should appear matte. Allow them to cool for a few minutes; Gently peel away the silicone mat while lightly pushing the macaron cookies off. Repeat with the remaining trays of macarons.
6. Once cooled, fill the macarons with the filling of choice by piping a small dollop onto the back side of one macaron shell and sandwiching it together with another. Repeat with the rest of the macarons. If not consuming right away, store them in an airtight container and keep them in the fridge.
Chocolate Ganache
8 oz. chopped dark chocolate
1 cup heavy whipping cream
1.Bring cream to a simmer while heating on low in a heavy bottom sauce pot. Be sure to stir often to prevent burning. Turn off the heat and pour the cream onto the dark chocolate (in a heat safe bowl). Slowly whisk and stir together until the chocolate is melted and everything becomes incorporated. The ganache should be glossy and smooth.
2. As it cools, the ganache will firm and thicken up. To avoid running macaron fillings, wait until you have achieved the desired consistency. You can speed this up by placing in the fridge; if the ganache hardens too much, you can always warm it up for 10 seconds in the microwave.
- For a thick pastry cream recipe that you can use as a filling, try this one. This King Arthur Recipe has tips on how to change the flavor of the cream.
- More easy and convenient fillings include chocolate hazelnut spread and jams! Yum!
Here are some tips that I recommend based on my experience:
1. Always use fresh egg whites from the shell.
2. Accurately weigh each ingredient.
3. Invest in high quality almond flour (such as Bob's Red Mill).
4. Test your oven to make sure the temperature is accurate.
5. Use Silipat sheets or good quality parchment paper.
6. Always pipe with a medium rounded tip (straight down, never at an angle).
7. Always use gel or powder food coloring.
8. Stop folding your batter once it has a 3-4 second consistency (if you run your spatula through the batter, it should take 3-4 seconds for it to spread back).
9. Invest in sturdy high quality baking sheets and double stack them.
10. Don't forget to stay clean and organized in the process-- sorry my Type A personality had to put that in. :)
This macaron workshop was so fun-- thanks to everyone who was there! I am considering doing more things like this. Any thoughts? What are some other workshops you would like to see if you could?


No comments:
Post a Comment